
“A tire only loses air if it’s punctured.” This is a common misconception that we have all had or heard and yet the reality is quite different. Indeed, a tire can lose air even without a puncture, as for example in the case of a crack in the valve that is used to inflate your tires. A punctured valve is difficult to detect, and not taking care of it in time can have real consequences for your tire, but also (and above all!) for your safety. Blackcircles Canada, your online tire specialist, offers below a complete guide to the causes and consequences of a punctured valve, and how to repair a leaking valve stem.
Wear and tear is the main cause of a leaking valve.
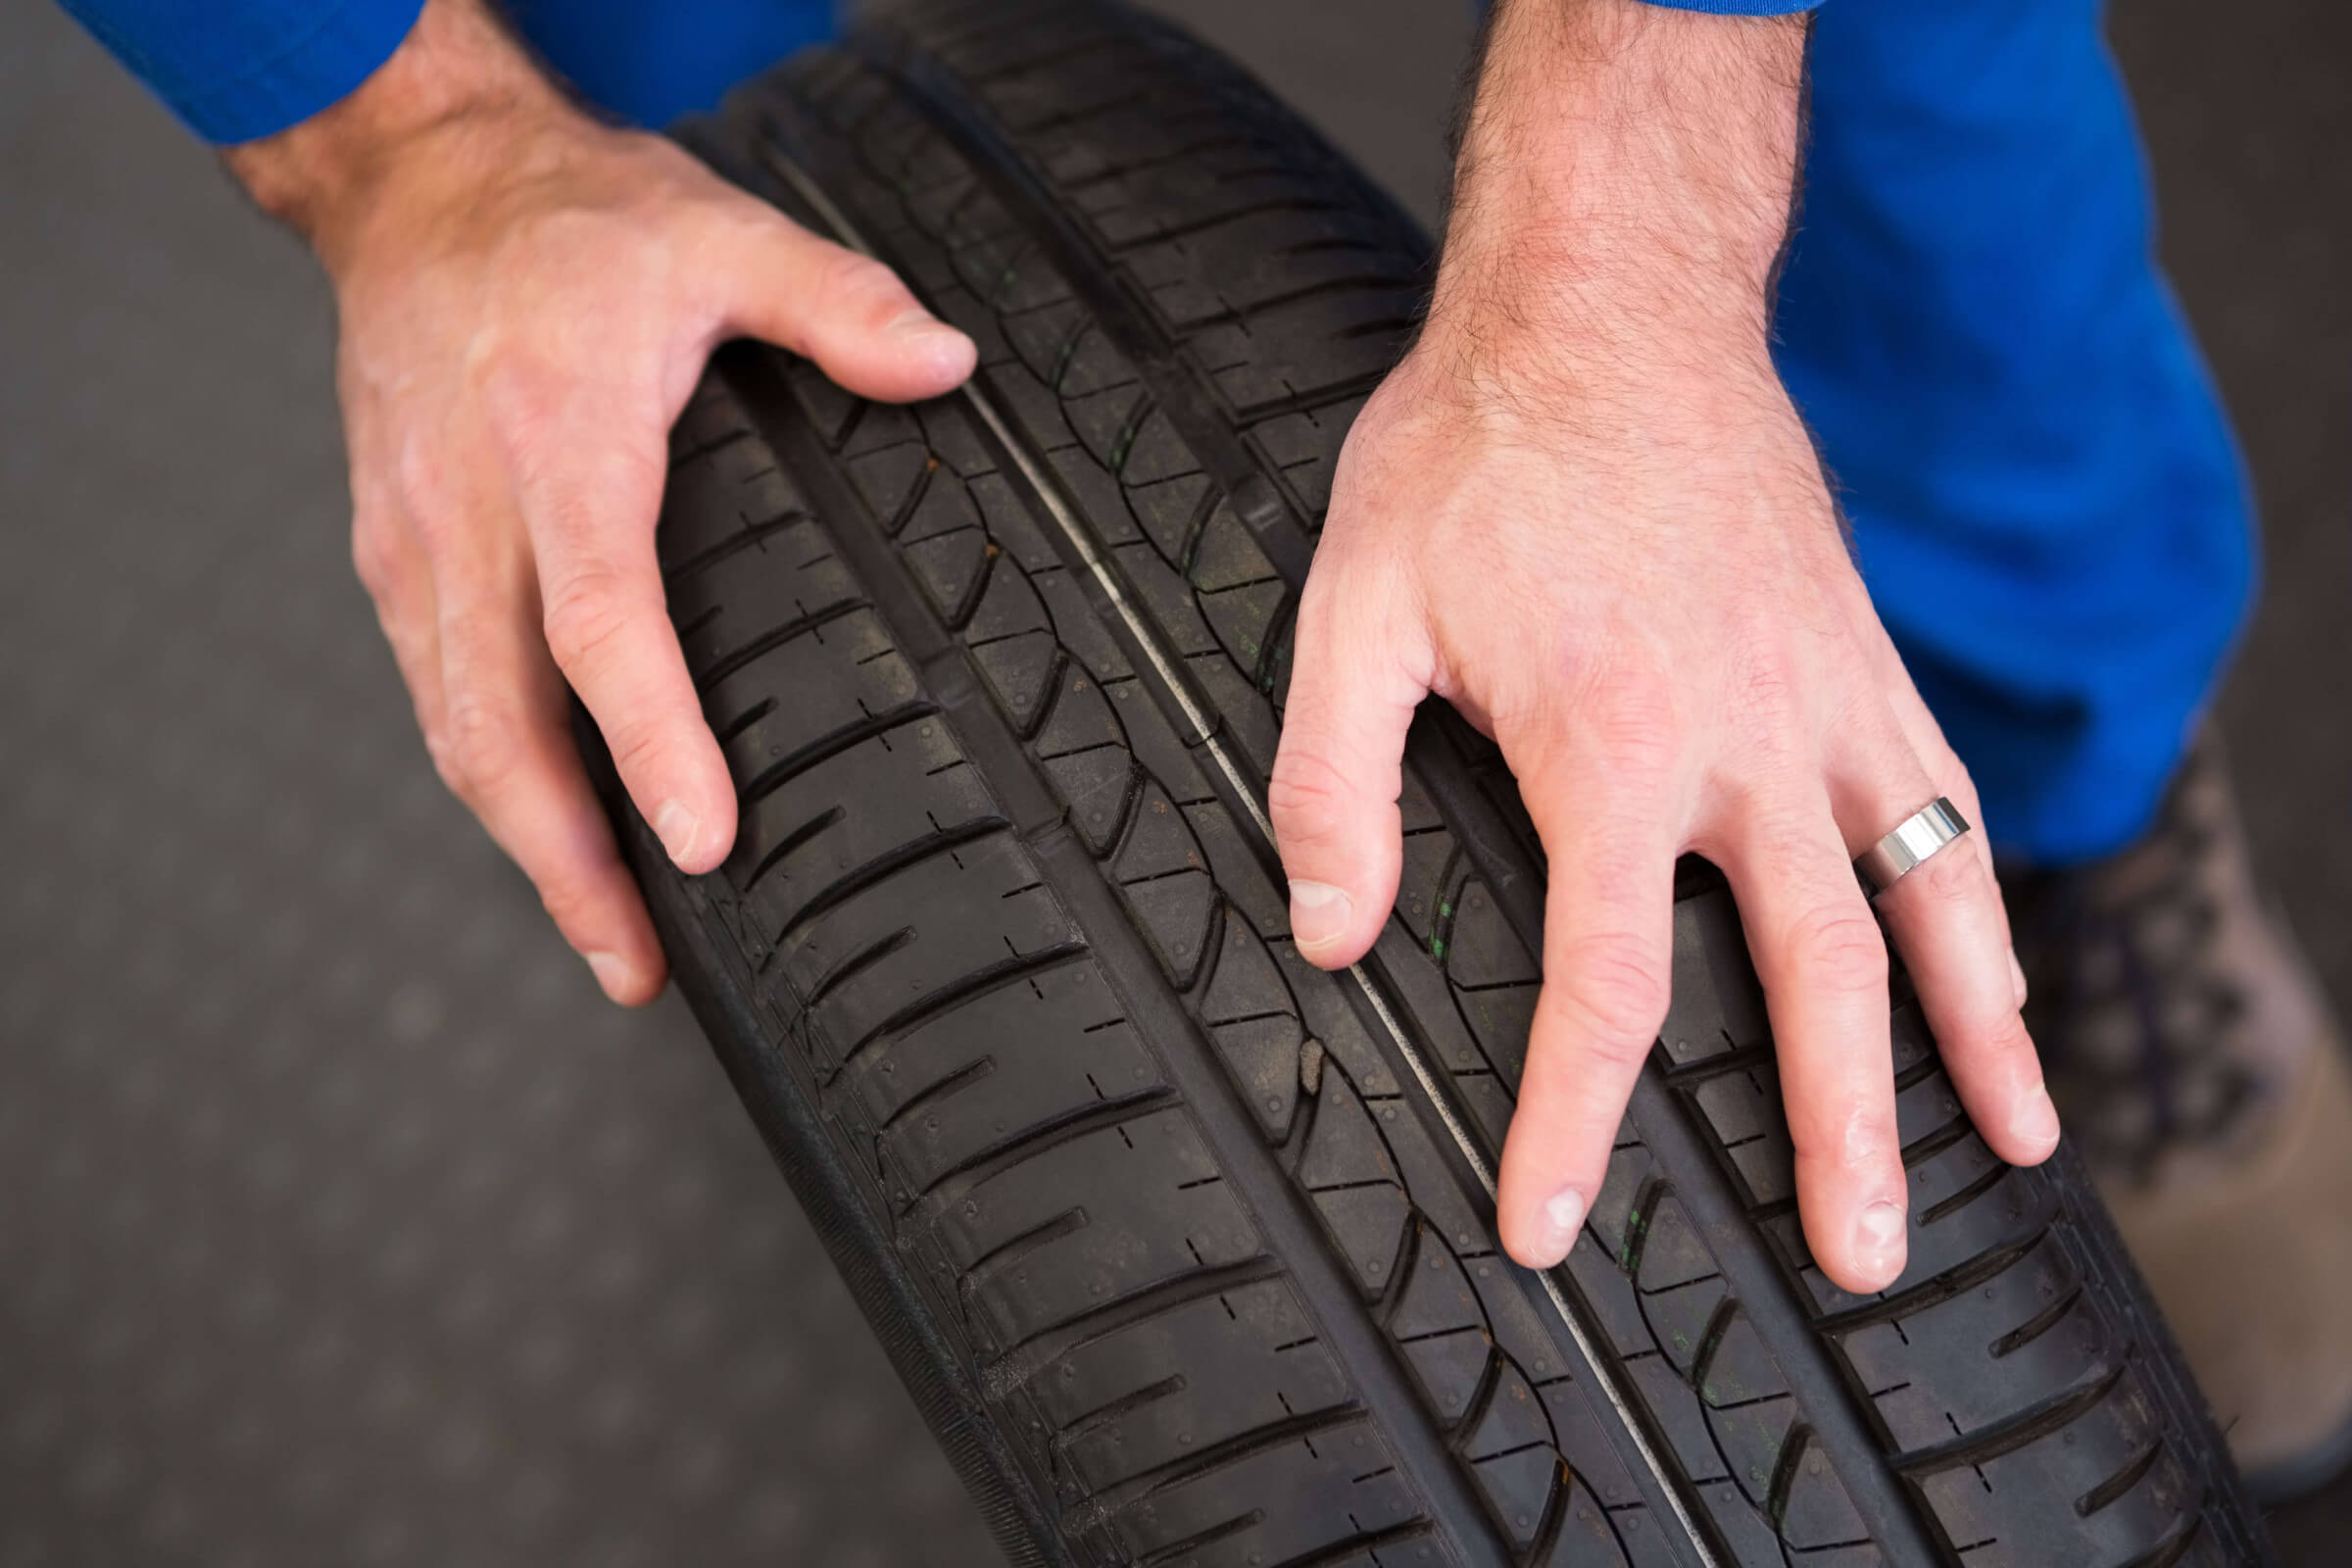
A valve is a pin located on the outside of the tire, through which the tire can be inflated/deflated. It has a mechanism consisting of a spring-mounted valve that closes tightly with the air pressure inside the tire. Over time, the stem valve may become brittle and cracked, which may increase the risk of air leaking through it.
When the stem valve leaks, the affected tire is no longer able to retain air. Depending on the extent of the damage, the air will leak out slowly or more quickly. In both cases, the valve must be replaced.

If the air leakage is slow, you will be subject to the problems encountered by drivers driving with underinflated tires. Internal damage that can shorten the service life of the tire by up to a quarter, increased fuel consumption due to higher rolling resistance: the tire will damage faster, and your energy-efficiency will be significantly lower. The tire will also have poorer traction and the stability of your car will be reduced when cornering, not to mention the more pronounced deformation of the tire that increases its internal temperature, which can cause it to burst. Finally, an under-inflated tire increases the risk of hydroplaning. Tire pressure is thus very important!
Repairing a leaking tire valve is therefore imperative. Here’s how to do it!
Step 1: Make sure it’s your valve stem that’s leaking.
First of all, make sure it is the tire valve stem that is leaking. To do so, there’s a very simple trick! Apply a mixture of water and dishwashing soap to the valve with the cap removed. If bubbles start to appear, your valve is leaking. If this is not the case, and there is a definite air leak, it will be located elsewhere on the tire.
Step 2: Gather the right tools before you start!
Before you begin, make sure you have all the necessary equipment to complete the replacement of the faulty valve stem.
For this, you will need the following:
- An air compressor with the right nozzle for your tire,
- A jack,
- Jack stands,
- A lug nut wrench for wheel mounting/removal,
- Needle-nosed pliers,
- A big hammer, preferably a sledgehammer,
- A tire iron,
- A valve stem removal tool,
- A new valve stem.
You are now ready to start the process!

Step 3: Loosen the nuts on the wheel you are going to work on.
To do so, use the wrench mentioned in the previous step to loosen each of the lug nuts holding your wheel in place. Do this while the car is still on the ground.
However, for certain models of vehicles, it is possible that the wheel nuts have an anti-theft ring. If this is the case, you’ll have to use the appropriate special key to remove the locking nut(s).

Step 4: Raise your vehicle with the jack and then remove the wheel.
First and foremost, make sure the handbrake is applied so that your vehicle is completely immobilized. Then, use your jack to lift your car. Be sure to position it on the right part of the chassis so that the car is properly supported. This will prevent any damage to the car and any bodily injury. Once your car is lifted, secure it on jack stands. Unscrew the wheel bolts completely, then remove the wheel. Finally, place the wheel on the ground flat, with the outside of the wheel facing up.

Step 5: Remove the valve stem core with the removal tool and let the tire deflate.
If you have not already done so, remove the valve cap. Then remove the valve stem core using the valve stem removal tool to release the air from the wheel, which should normally deflate completely on its own.
Step 6: Separate the tire’s bead from the wheel.
For this step, use the sledgehammer in the following way: hit the tire sidewall with the sledgehammer in the same spot until you hear a crack or popping sound, and see the inside lip of the tire visibly break loose from the rim. This means that the tire has been successfully detached from the lip of the wheel.
Once the tire bead has been broken, continue hitting with the sledgehammer around the tire to detach the sidewall around the entire circumference of the wheel.

Step 7: Remove the tire from the rim.
Once the sidewall of the tire is separated from the outer edge of the rim around the entire circumference of the wheel, insert your tire iron between the edge of the rim and the inside lip of the tire, and then pry upward to pull the lip of the tire over the edge of the wheel. Once you have pulled the lip of the tire over the edge of the wheel, work the tire iron around the rim until the entire lip of the tire is off the rim.
Once the sidewall of the tire is completely above the wheel, grab it by its removed lip and pull it upward so that the opposite lip that was at the bottom of the wheel is now touching the top edge of the rim. Use your tire iron again by inserting it between the tire’s lip and the edge of the wheel and pry upwards to pull the lip over the edge of the rim. As before, work the tire iron around the edge of the wheel until the tire is removed from the wheel.

Step 8: Remove the defective valve stem and replace it with the new one.
Once the tire is separated from the rim, it is time to remove the valve stem. To do this, first pull out the valve stem free from the wheel using the needle-nose pliers. Once this has been done, install the replacement valve stem from the inside of the wheel. Once it is in position, use the needle-nose pliers again to pull it through into its right place on the wheel.
Step 9: Reinstall the tire on the wheel and inflate it.
Once the stem is in place, it is time to put the tire back on its rim. To do this, start by pressing the tire down over the rim until the bottom bead clears the edge of the rim. The aim here is to return the lower sidewall of the tire to its original position on the wheel.
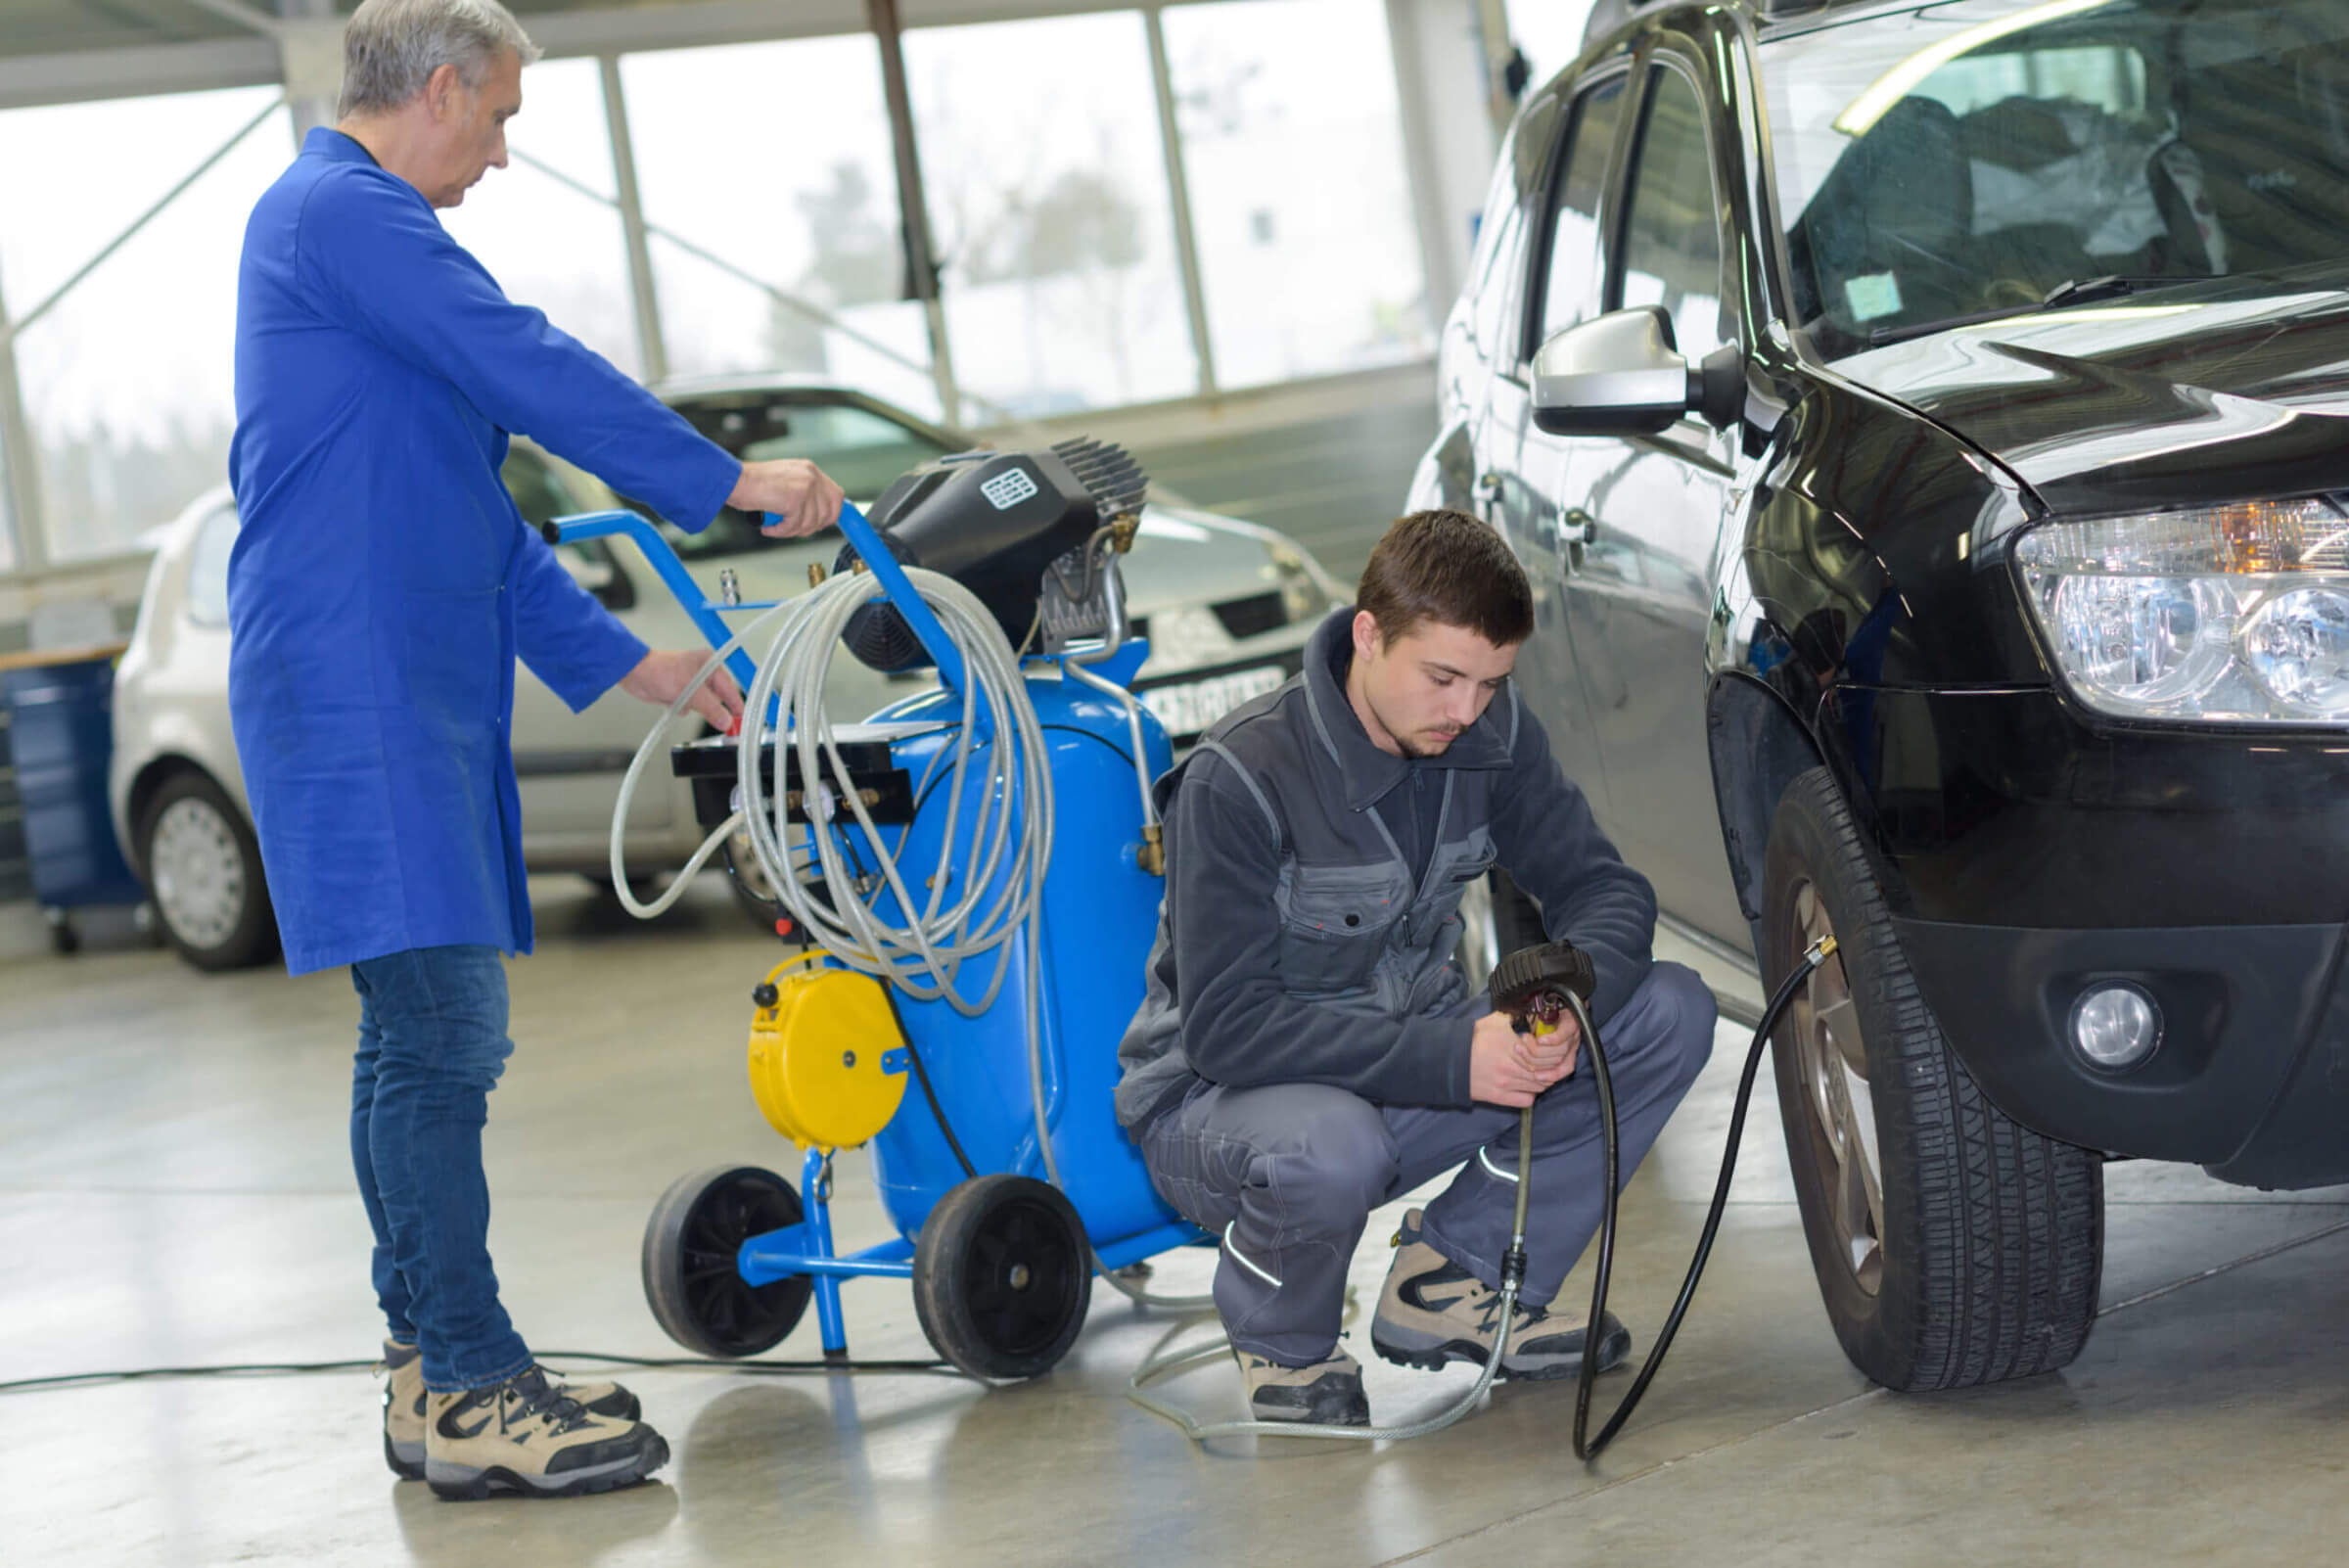
Then press the upper sidewall of the tire down underneath the edge of the wheel. Then tuck your tire iron between the tire sidewall and the rim edge and use it to make the opposite movement to the one you used to pull the tire sidewall out of the rim. Once the bead clears the lip of the wheel, use the tire iron to work your way round the entire wheel until the tire is completely installed on the wheel. Then inflate it to the correct pressure using the air compressor.

Step 10: Make sure there are no other leaks, and mount your wheel back on!
Once the tire is inflated to the correct pressure, check for other leaks. If all is well, mount the wheel on your vehicle and bring it down by lowering the level of the jack stands until the repaired wheel touches the ground and you can safely remove them.
Ultimately, it is very important to make sure your tires are free of air leaks to maintain proper air pressure at all times. In the case of a slow air leak, the consequences can be dramatic. If the air leak is due to a faulty tire valve, you will definitely need to replace it. You can either follow the above procedure on how to repair a leaking tire valve or take it directly to a specialist. If, on the other hand, you need to change the entire tire, consult our selection of tires adapted for your car directly online on our website!